Authentication with API Keys
To ensure secure access to our platform, Lamatic.ai employs API keys for authentication. When triggering flows via GraphQL, you'll need to include your API key in the request headers. This key serves as a unique identifier, granting you authorized access to our services while maintaining the integrity and confidentiality of your data.
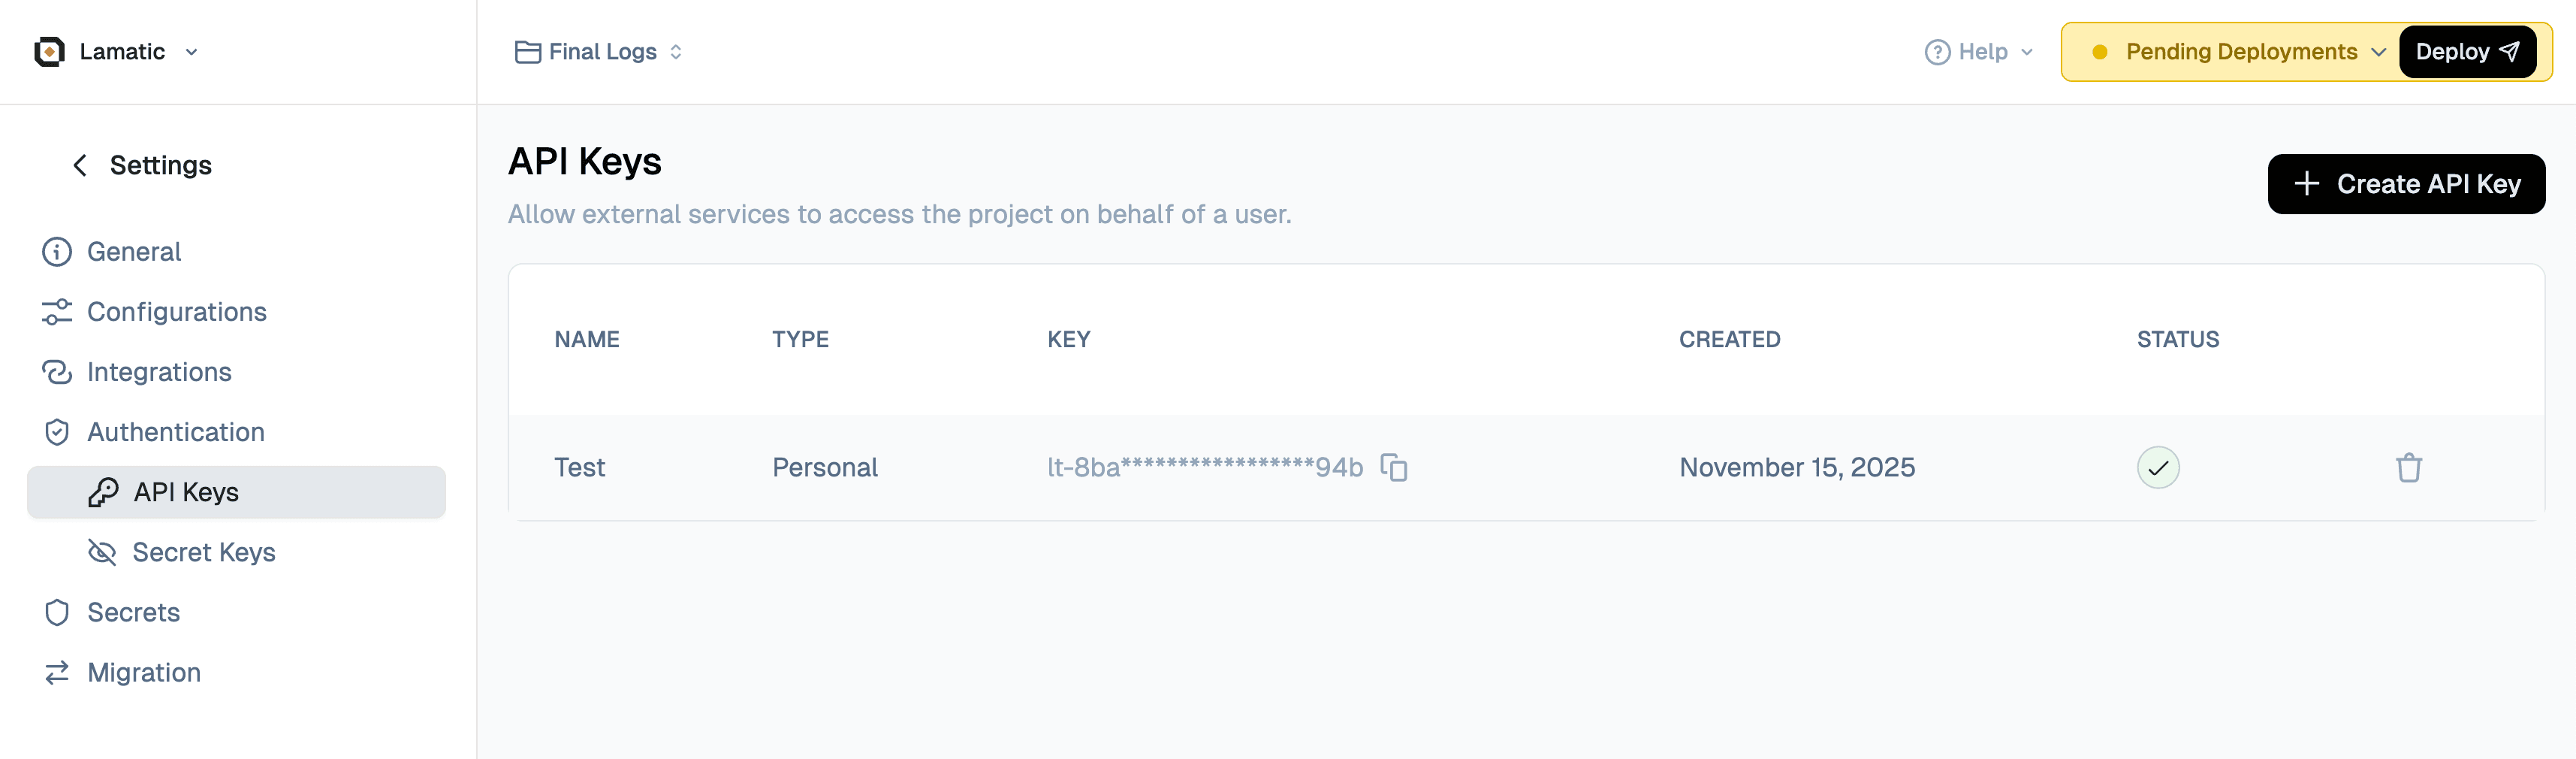
How to Get the API Key
Follow these steps to create and retrieve your API key:
- Navigate to Studio: Open your Lamatic.ai Studio
- Go to Settings: Click on Settings in the navigation menu
- Access API Keys: Select API Keys from the settings options
- Create New Key: Click the Create a New API Key button
- Copy Your Key: Once created, copy your API key immediately (you won't be able to see it again)
Important: Store your API key securely. If you lose it, you'll need to create a new one. After creating a new API key, make sure to redeploy your project for the changes to take effect.
Using the API Key
Include your API key in the Authorization header of all GraphQL requests using the Bearer token format:
Authorization: Bearer your_api_keyBy including the API key in the Authorization header, our platform can verify your identity and grant you access to trigger the desired flow.
Integrating Lamatic into Your Application
This section provides a comprehensive guide for integrating Lamatic.ai into your application. Follow these steps to seamlessly connect your application with Lamatic workflows.
Integration Overview
Lamatic.ai integrates with your application through GraphQL API endpoints. You can trigger workflows programmatically from any application that can make HTTP requests, including web applications, mobile apps, backend services, and serverless functions.
Required Information
Before integrating, gather the following information from your Lamatic Studio:
- API Key: Your authentication key (from Studio > Settings > API Keys)
- Project ID: Unique identifier for your project (found in project settings)
- Project URL: Your GraphQL endpoint URL (provided in your project dashboard)
- Workflow ID: The ID of the specific workflow you want to trigger (visible in the workflow editor)
Integration Steps
Step 1: Set Up Environment Variables
Store your API key securely as an environment variable. Never hardcode credentials in your source code.
For local development:
- Create a
.envfile (add it to.gitignore) - Add:
LAMATIC_API_KEY=your_api_key_here
For production:
- Use your platform's secret management system (AWS Secrets Manager, Azure Key Vault, etc.)
- Or set environment variables in your deployment configuration
Step 2: Install Required Dependencies
Depending on your technology stack:
- JavaScript/Node.js:
npm install axiosornpm install node-fetch - Python:
pip install requests - Other languages: Use your language's standard HTTP client library
Step 3: Configure Request Headers
Every request must include these headers:
{
  "Authorization": "Bearer YOUR_API_KEY",
  "Content-Type": "application/json",
  "x-project-id": "YOUR_PROJECT_ID"
}
Step 4: Structure Your GraphQL Query
Use the executeWorkflow mutation with your workflow ID and payload:
query ExecuteWorkflow($workflowId: String!, $payload: JSON) {
  executeWorkflow(workflowId: $workflowId, payload: $payload) {
    status
    result
  }
}
Step 5: Map Your Data to Workflow Inputs
Ensure your payload matches the input schema defined in your workflow. Check your workflow's input variables in the Studio to ensure correct field names and types.
Step 6: Handle Responses and Errors
Always implement proper error handling:
- Check HTTP status codes
- Parse GraphQL errors from the response
- Handle network failures gracefully
- Implement retry logic for transient failures
Common Integration Patterns
Synchronous Integration: Make a request and wait for the response before proceeding. Best for workflows that complete quickly.
Asynchronous Integration: Trigger the workflow and handle the response in a callback or promise. Best for longer-running workflows.
Webhook Integration: Configure your workflow to send results to a webhook endpoint in your application. Best for workflows that may take time to complete.
Batch Processing: Trigger multiple workflows in parallel or sequence. Ensure you respect rate limits.
Troubleshooting
Authentication Errors (401)
- Verify your API key is correct and not expired
- Check that the API key is properly set in environment variables
- Ensure the
Bearerprefix is included in the Authorization header
Project Not Found (404)
- Verify your Project ID is correct
- Check that the Project URL is correct
- Ensure your project is deployed
Rate Limit Exceeded (429)
- Ensure you’re not exceeding the allowed number of requests for your plan
- Check if multiple requests are being sent in parallel or in rapid succession
- Implement request throttling or retries with exponential backoff
Workflow Execution Errors
- Verify the Workflow ID is correct
- Check that payload structure matches workflow inputs
- Review workflow logs in the Studio
Network Errors
- Check your internet connection
- Verify the Project URL is accessible
- Check firewall settings
- Implement retry logic with exponential backoff
Triggering Flows with GraphQL
Lamatic.ai's GraphQL integration allows you to trigger your GenAI flows seamlessly using GraphQL queries. This approach provides a standardized and efficient way to interact with our platform, enabling you to execute your GenAI flows on-demand or as part of larger application flows.
Prerequisites
Before you begin, make sure you have:
- Your API Key (from Studio > Settings > API Keys)
- Your Project ID (found in your project settings)
- Your Project URL (your GraphQL endpoint)
- Your Workflow ID (the ID of the workflow you want to trigger)
Setup Instructions
-
Set your API key as an environment variable:
- JavaScript/Node.js:
export LAMATIC_API_KEY=your_api_key_here - Python:
export LAMATIC_API_KEY=your_api_key_here(or add to.envfile) - cURL:
export LAMATIC_API_KEY=your_api_key_here
- JavaScript/Node.js:
-
Replace the following placeholders in the code:
YOUR_PROJECT_URL- Your GraphQL endpoint URLYOUR_PROJECT_ID- Your project IDYOUR_WORKFLOW_ID- The workflow ID you want to executeurl- Your input data (modify based on your workflow's requirements)
Here's an example GraphQL query that demonstrates how you can trigger a flow:
Note: In this example, we're using url as a payload variable. You should adjust the payload variables based on your workflow's input requirements.
const axios = require('axios');

// Step 1: Get your API key from environment variable
const lamatic_api_key = process.env.LAMATIC_API_KEY;

// Step 2: Define your GraphQL query
const query = `
query ExecuteWorkflow(
$workflowId: String!
$url: String
) {
executeWorkflow(
  workflowId: $workflowId
  payload: {
    url: $url
  }
) {
  status
  result
}
}
`;

// Step 3: Define your query variables
const variables = {
workflowId: "YOUR_WORKFLOW_ID",
url: "url"
};

// Step 4: Configure the request
const options = {
method: 'POST',
url: 'YOUR_PROJECT_URL',
headers: {
'Authorization': `Bearer ${lamatic_api_key}`,
'Content-Type': 'application/json',
'x-project-id': 'YOUR_PROJECT_ID',
},
data: {
query,
variables
}
};

// Step 5: Make the request
axios(options)
.then(response => {
console.log('Success:', response.data);
})
.catch(error => {
console.error('Error:', error.response?.data || error.message);
});
Understanding the Response
The response structure can be configured in the Schema of the GraphQL Response node in your workflow. The response will follow this structure:
{
  "data": {
    "executeWorkflow": {
      "status": "success",
      "result": {
        // Your custom output as configured in the Schema
      }
    }
  }
}
Important Notes
- Workflow ID: You can find your workflow ID in the Studio when viewing your workflow
- Payload Variables: The
payloadobject should match the input variables defined in your workflow. In this example, we're usingurl, but you should adjust this based on your workflow's requirements - Error Handling: Always check the response status and handle errors appropriately in your application
- API Key Security: Never commit your API key to version control. Always use environment variables or secure secret management