Getting Started with the Search Widget
Difficulty Level
Beginner
Nodes
RAG LLM
Tags
Support
💡
Try out this flow yourself at Lamatic.ai. Sign up for free and start building your own AI workflows.
Add to LamaticThis guide will walk you through using the Search Widget in Lamatic. We’ll use a Vector Database and a RAG Node to retrieve data from the database.
What You’ll Build
- A Search Widget powered by AI-driven search technology
Prerequisites
- A Lamatic.ai account
- A Vector Database with vectored data in Lamatic Studio
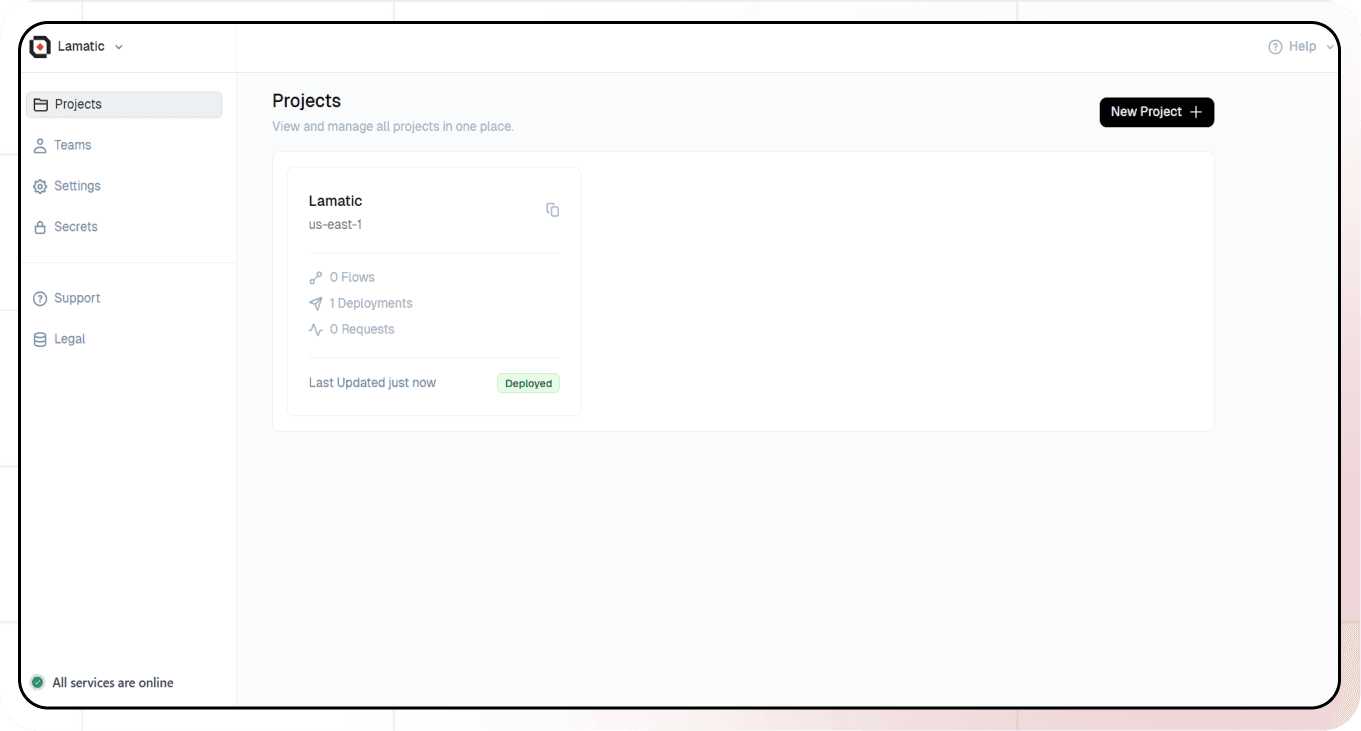
1. Setting Up Your Project
- Sign up or log in to Lamatic.ai.
- Go to the Dashboard and click Create New Flow.
- You’ll see sections like Flows, Data, and Models.
2. Creating a New Flow
- Click on Flows and create a new one.
- Select Search Widget as the Trigger Node.
- Click on the Search Widget node.
- Whitelist the domains where you’ll deploy the widget. This ensures that the widget works only on approved domains.
3. Configuring the RAG Node
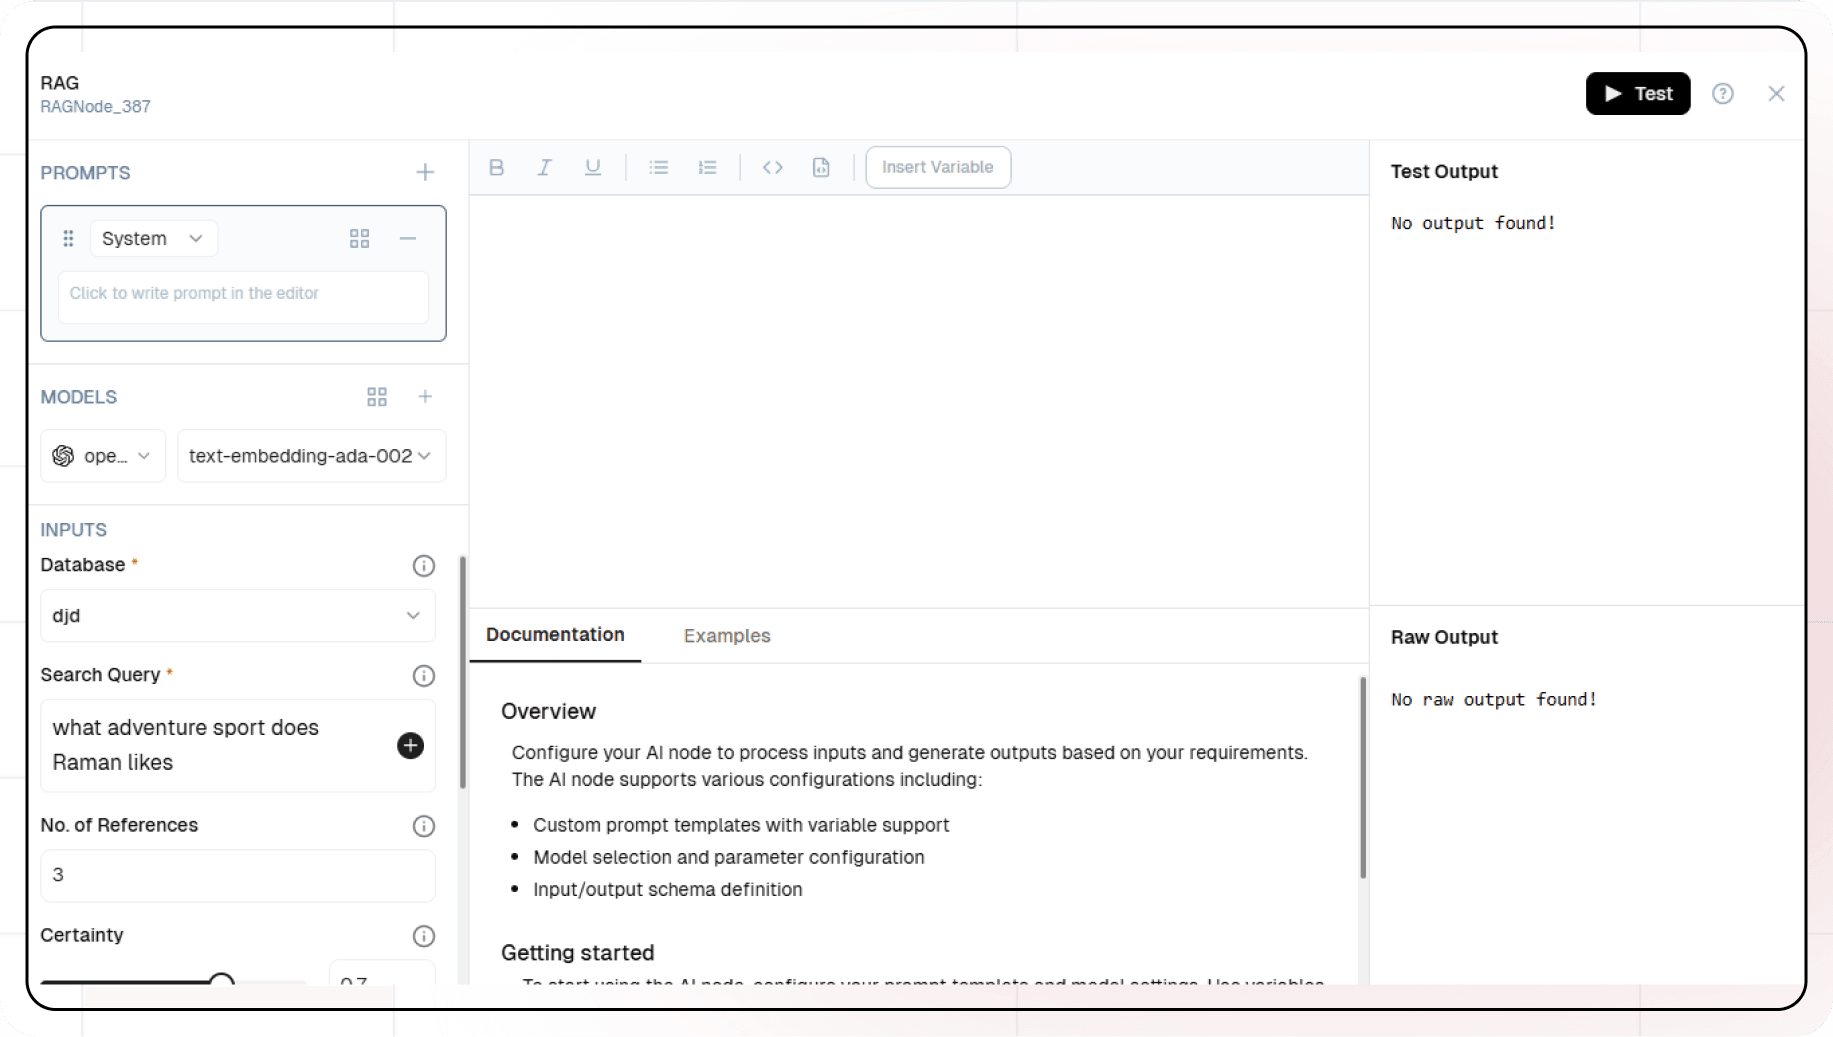
- Add a RAG Node, which will connect to the Vector Database.
- Configure the following settings:
- Select Vector Database.
- Pass Search Query dynamically by clicking the + icon.
- Embedding Model: Use OpenAI’s
text-embedding-3-large. - Generative Model: Use OpenAI’s
gpt-40-mini.
- Optional: Add additional properties to refine search results:
- System Prompt: Guide the AI on how to respond.
- Number of References: Limit the number of returned results.
- Certainty: A value between 0 and 1 representing the similarity score.
- Filters: Apply JSON-based filters for better search refinement.
4. Updating the Response Node
 The RAG Node provides
 modelResponse along with an array of references. We’ll use these references to display results in the search widget.
- Click on the Search Response Node.
- Set the Title field using:
The
{{RAGNode_900.output.references[:].file_name}}:represents all elements in the array. - Set the Content field using:
{{RAGNode_900.output.references[:].content}} - Optional: Add properties like Link and Breadcrumbs to enhance the response.
5. Testing Your Setup
Before testing, ensure you have data in the Vector Database.
- Click Configure Test.
- Click on Search Widget and enter a query.
- View the results.
- Click the Test button to inspect each node’s response.
6. Deployment & Integration
- Click Deploy and enter a commit message.
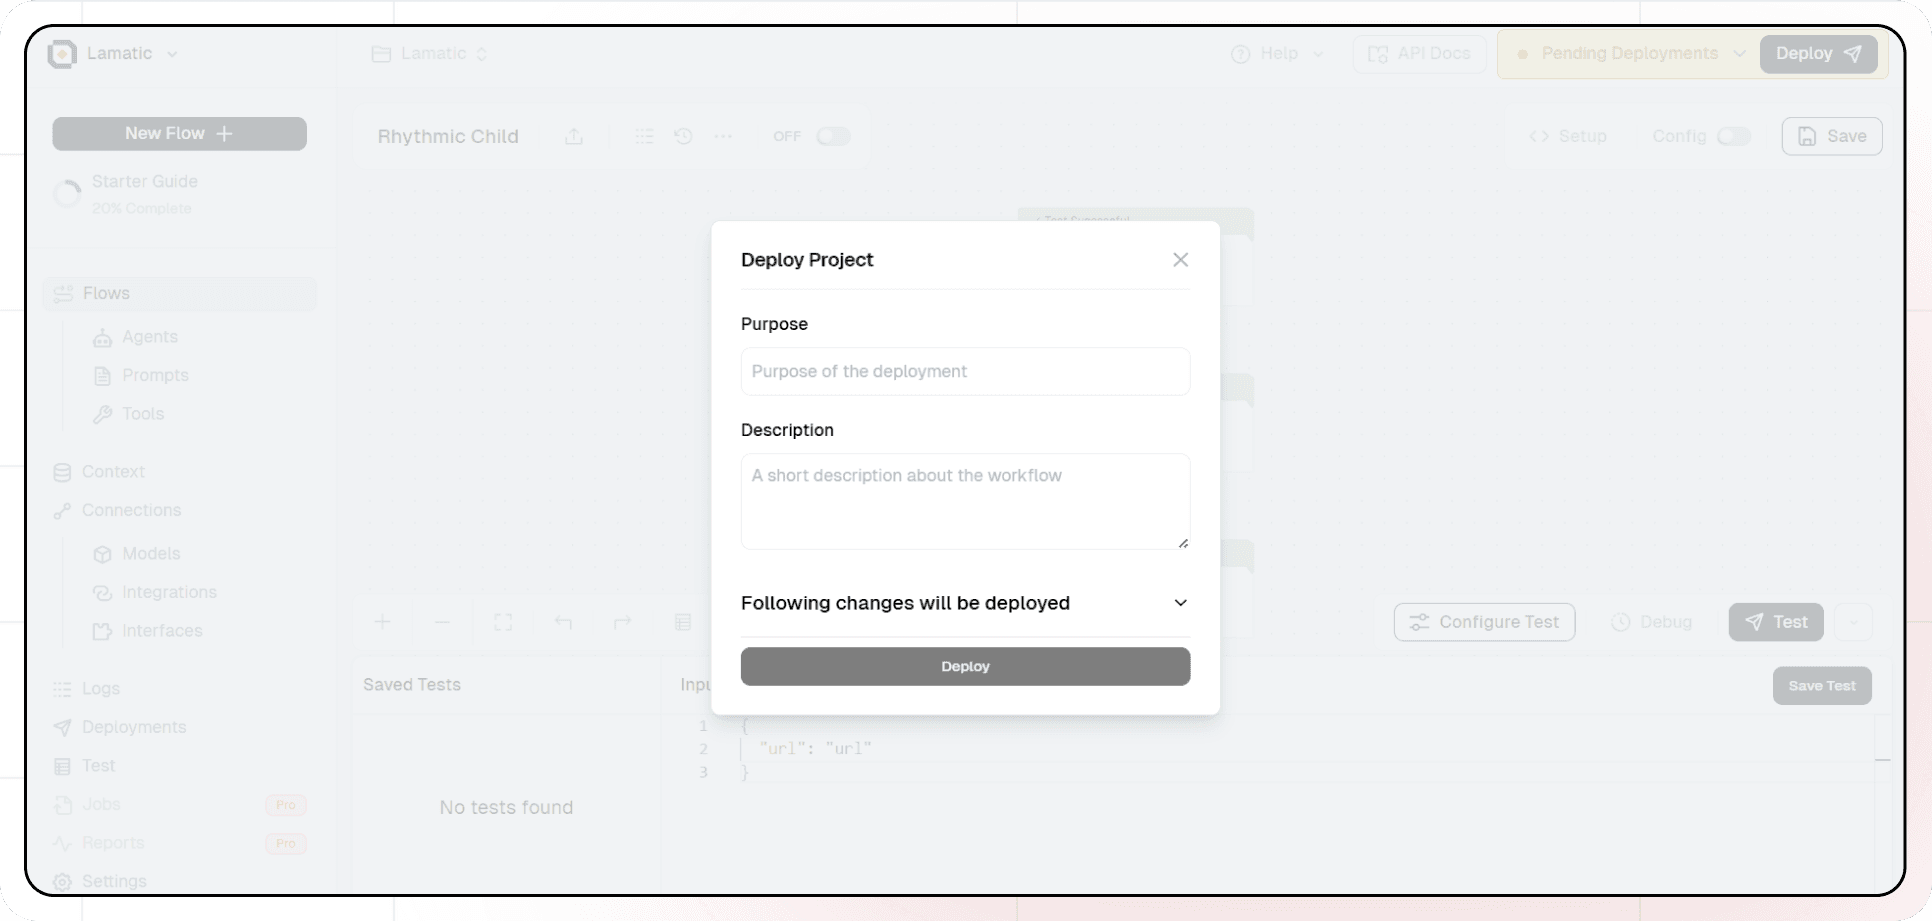
- Once deployed, click Setup to integrate the Search Widget into your website.
- Follow the setup instructions and ensure your domains are whitelisted.
Now your AI-powered Search Widget is ready to enhance your website’s search experience!